How to Deploy an ASP.NET Project with VS Code and Web Deploy
What is Web Deploy
Web Deploy is a technology that allows you to deploy ASP.NET and .NET Core applications to our hosting easily. Instead of copying new files via FTP and deleting the old ones manually, with Web Deploy you synchronize your application files automatically—it takes care of all required operations under the hood.
You can use it directly from a developer’s machine or integrate it into your CI/CD pipeline for fully automated deployments:
- https://library.octopus.com/step-templates/ba8581a6-c463-40fb-ab98-3800e761b6f4/actiontemplate-web-deploy-publish-website-(msdeploy)
- https://www.appveyor.com/docs/deployment/web-deploy/
- https://muktak.com/continuous-deployment-of-net-projects-using-jenkins/
Web Deploy is already active on all our ASP.NET hosting offerings—you do not need to enable anything separately.
How to configure Visual Studio Code to publish applications via Web Deploy
To use Web Deploy in Visual Studio Code, you first must install Web Deploy bits on your machine. You can choose one of the following ways:
- Download and install it manually from https://www.iis.net/downloads/microsoft/web-deploy
- Use the new Microsoft package manager winget:
winget install Microsoft.WebDeploy
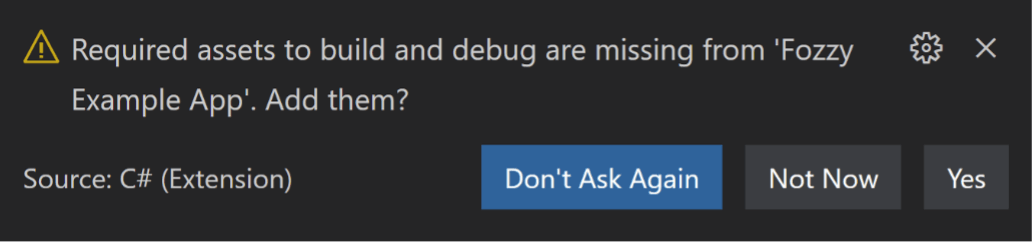
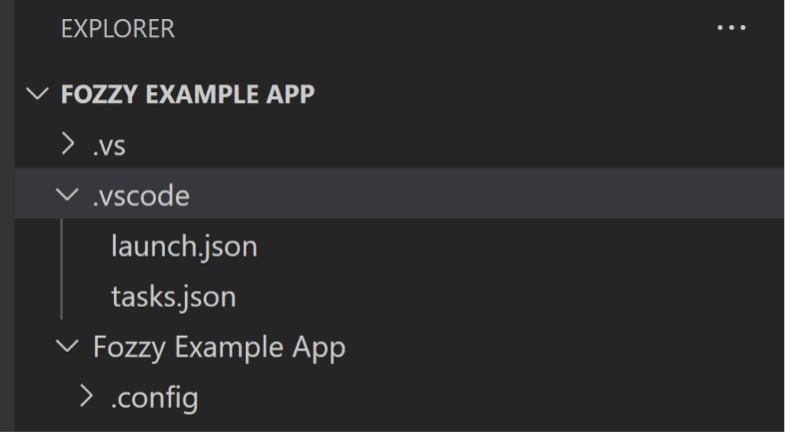
Then open your project in Visual Studio Code: when you first open a C# project, you get a notification about required assets missing. Agreeing to add them creates a “.vscode” folder at the root of your project with two files inside: launch.json and tasks.json. Please, click “Yes”–we need “tasks.json” for Web Deploy to work.
tasks.json is a file with different tasks you can run in a project, such as build, watch, and publish. Right now you need to pay attention to the last one–publish. This task builds binaries for your project and prepares them to be published on a web server.
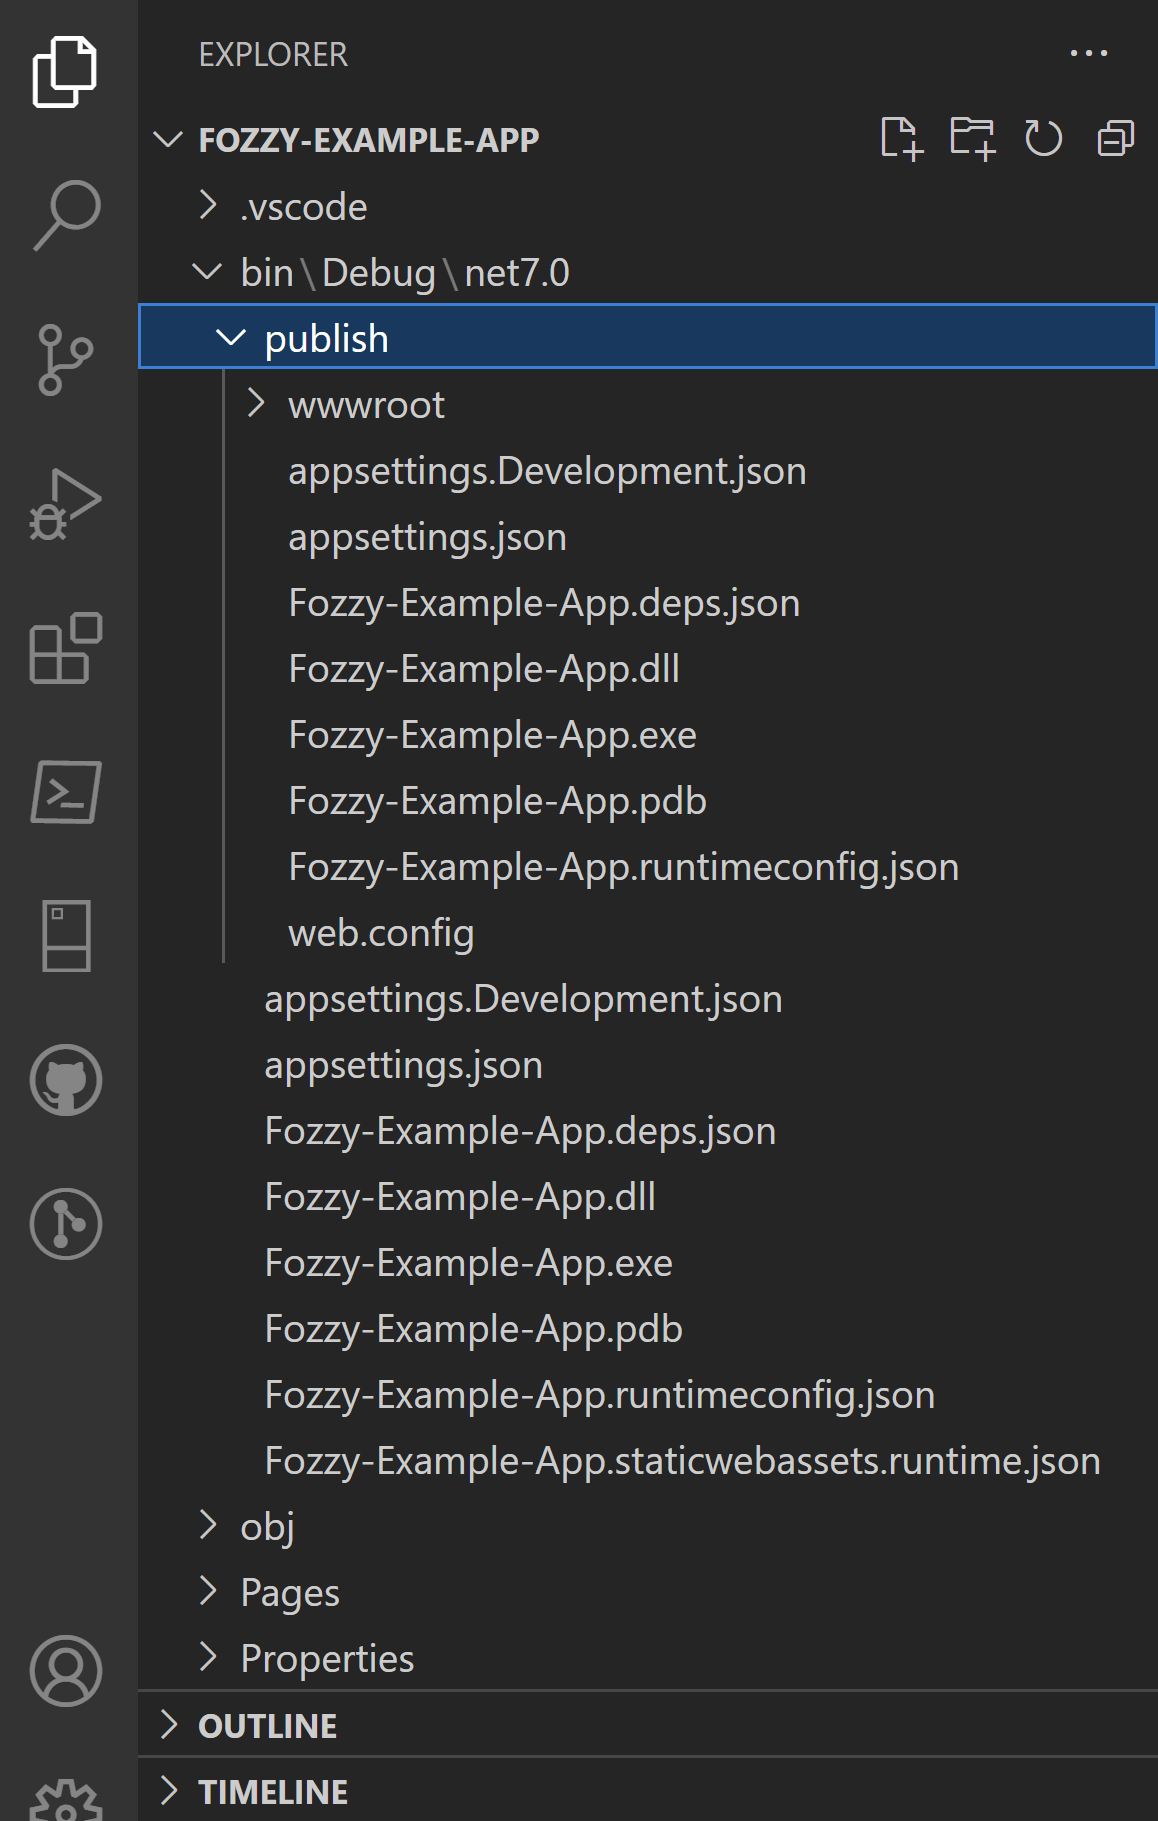
For example, let’s take a .NET 7.0 app. As soon as you run the “publish” task, a new directory called “publish” appears under “bin\Debug\net7.0”. These are the files you need to copy to the web server for your app to be available online.
Create a task which will utilize Web Deploy to publish your web app online. Open tasks.json and create a new task there. Here is an example:
{
            "label": "publishonline",
            "command": "${env:ProgramFiles}\\IIS\\Microsoft Web Deploy V3\\msdeploy.exe",
            "type": "process",
            "args": [
                "-verb:sync",
                "-source:contentPath='${workspaceFolder}\\bin\\Debug\\net7.0\\publish'",
                "-dest:contentPath='app.fozzyhost.net',computerName=https://plesk1.v.fozzy.com:8172/msdeploy.axd?site=app.fozzyhost.net,AuthType='Basic',userName='<YOUR USERNAME>',password='<YOUR PASSWORD>'",
                "-enableRule:AppOffline"
            ],
            "problemMatcher": "$msCompile",
            "dependsOn": [
                "publish"
            ]
        },
Note, that the name of this example task is “publishonline”. Feel free to change it.
- In the “-source” parameter, specify a full path to your “publish” folder, as discussed earlier.
- In the “-dest” parameter, replace both instances of “app.fozzyhost.net” with the domain name of a website to which you want to deploy your app.
- In the “computerName” property, replace “plesk1.v.fozzy.com” with the hostname of the server on which your hosting service was created–you received it from us in a welcome email.
- For “username” and “password” properties use credentials from the welcome email.
Deploying the application to hosting
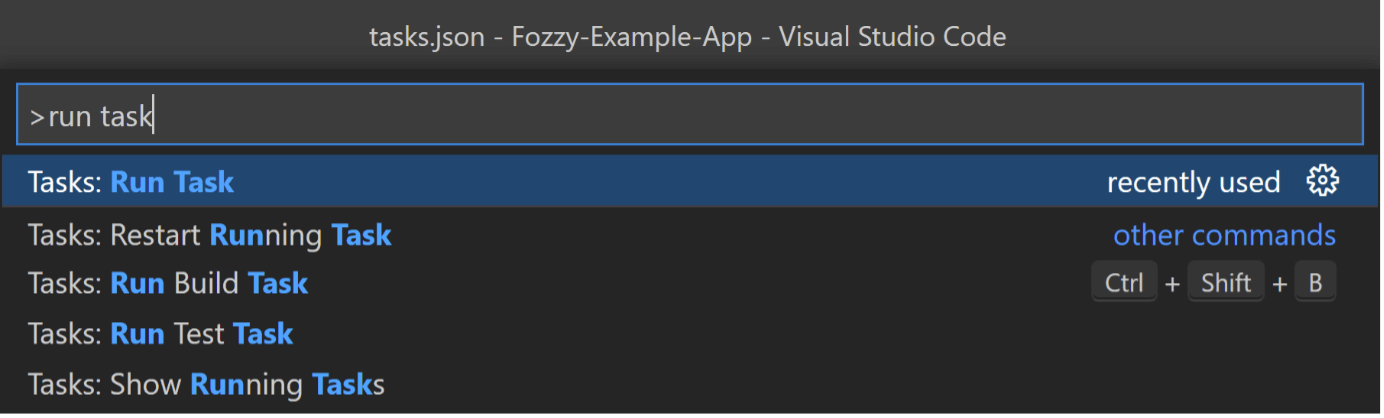
Now you are ready to deploy your application to our hosting. Press Ctrl+Shift+P to open Command Palette and type “run task” there. Select “Tasks: Run Task”.
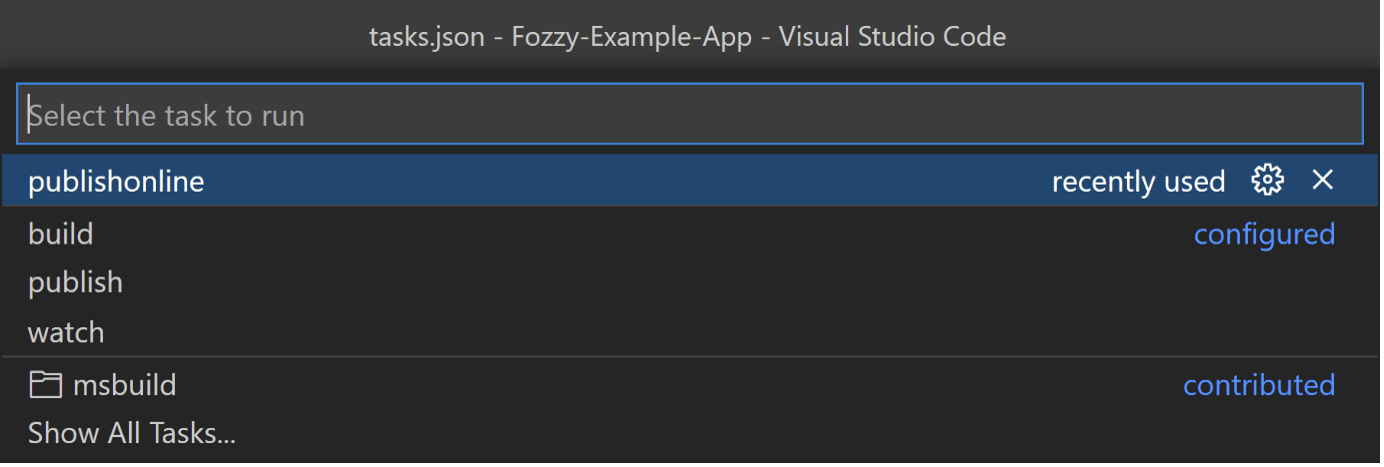
Select the name of the task you’ve just created and press “Enter”.
You will see the progress in the Terminal window:
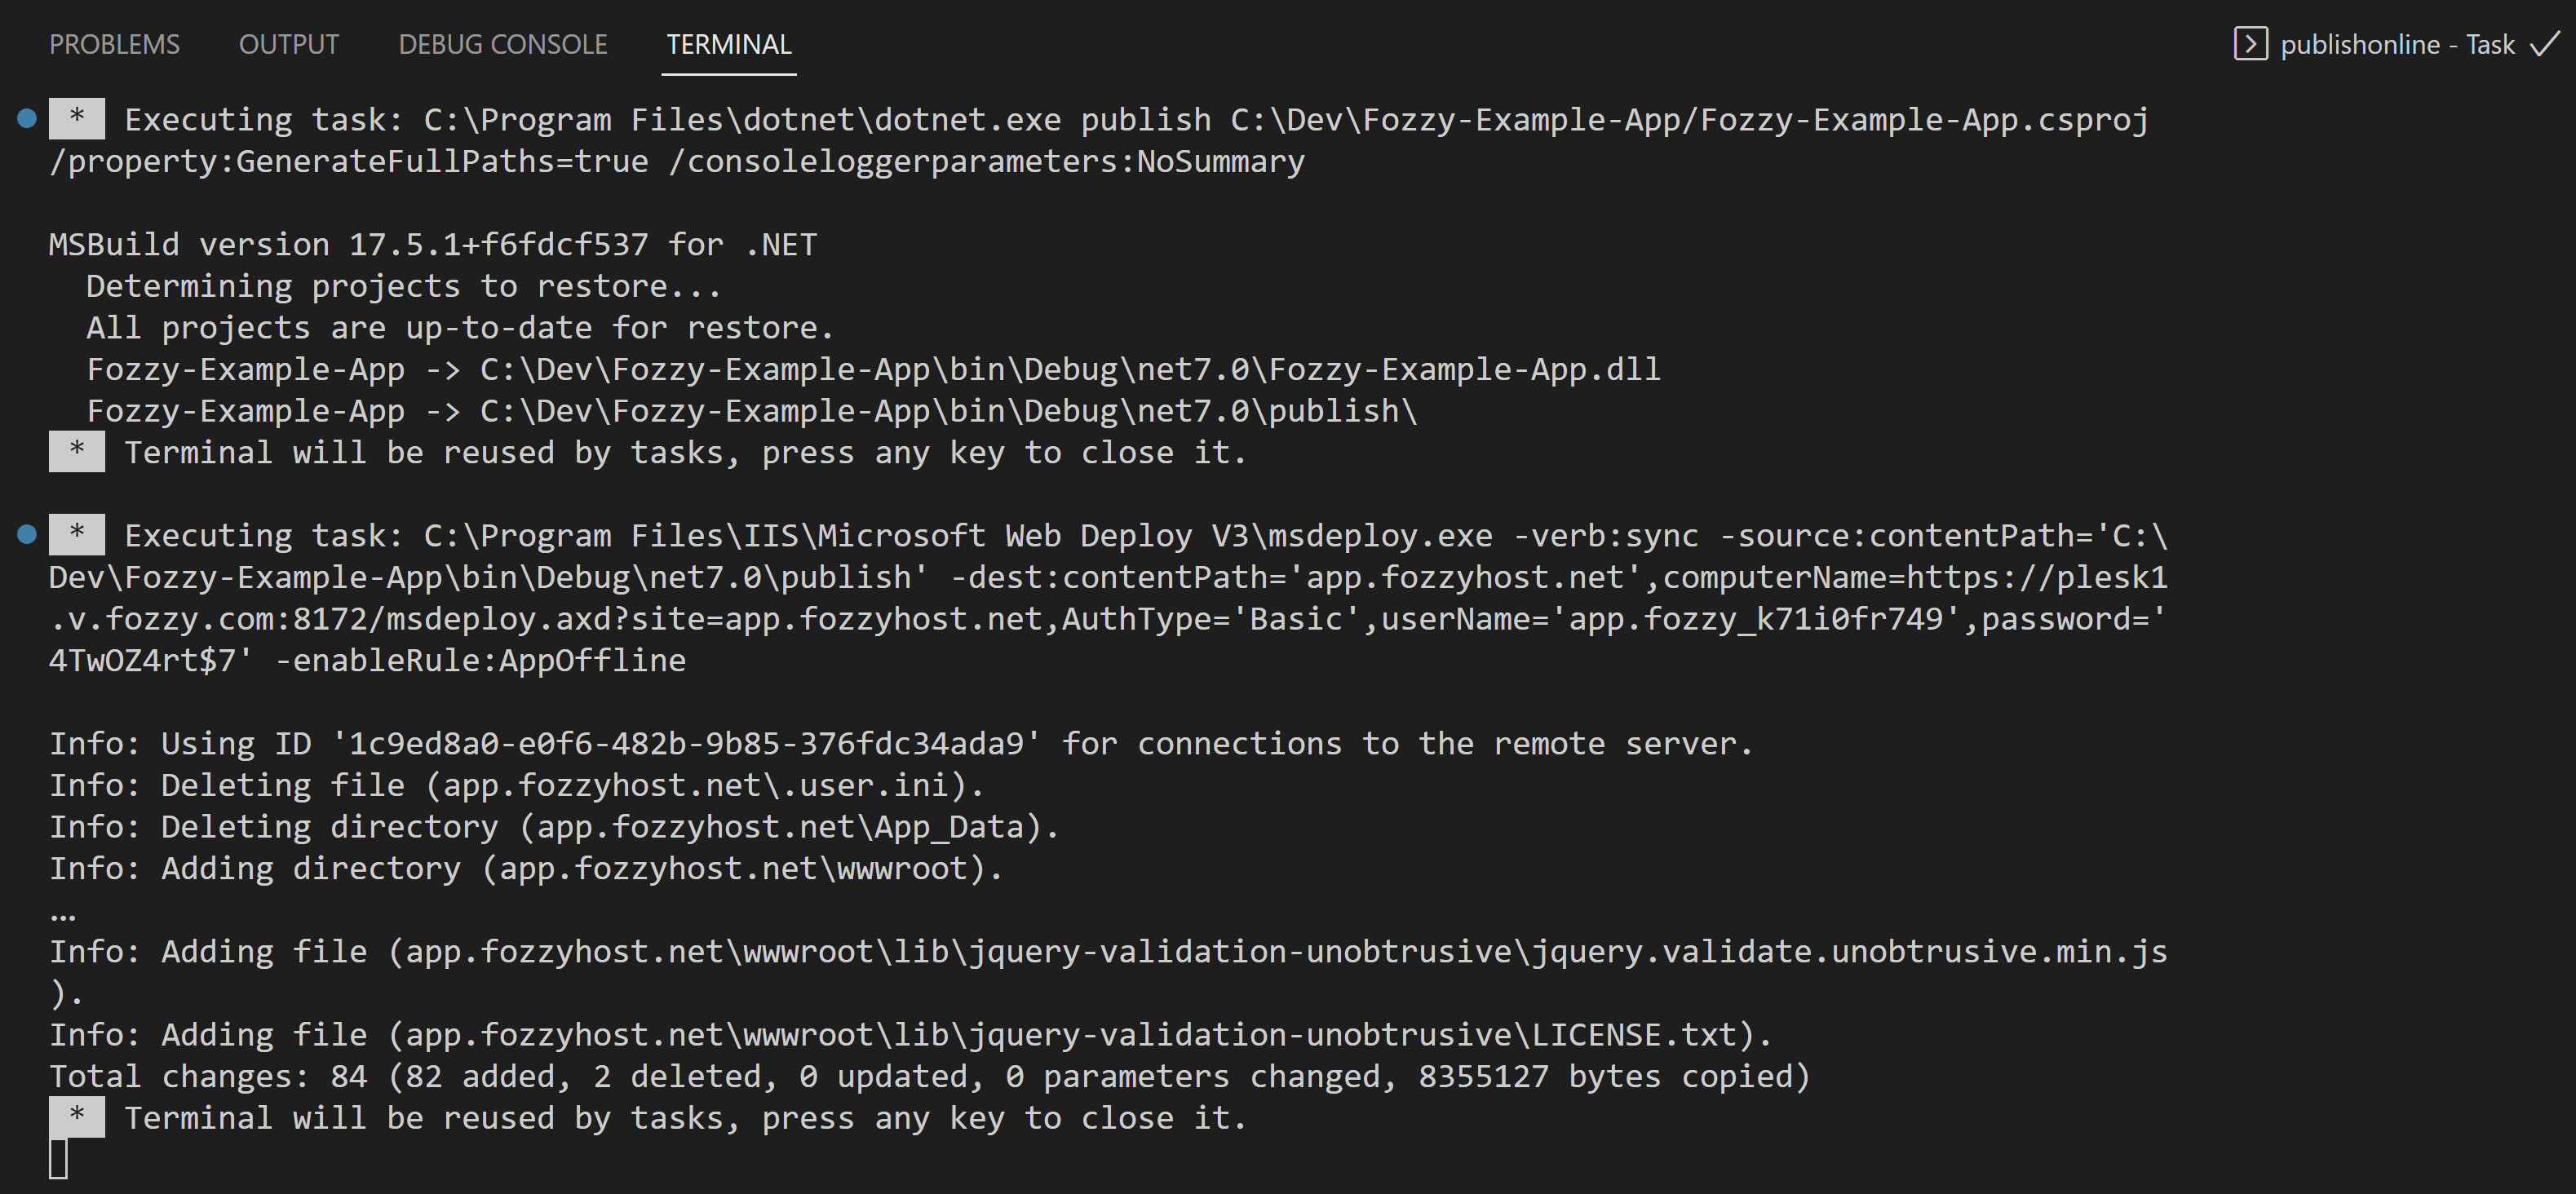
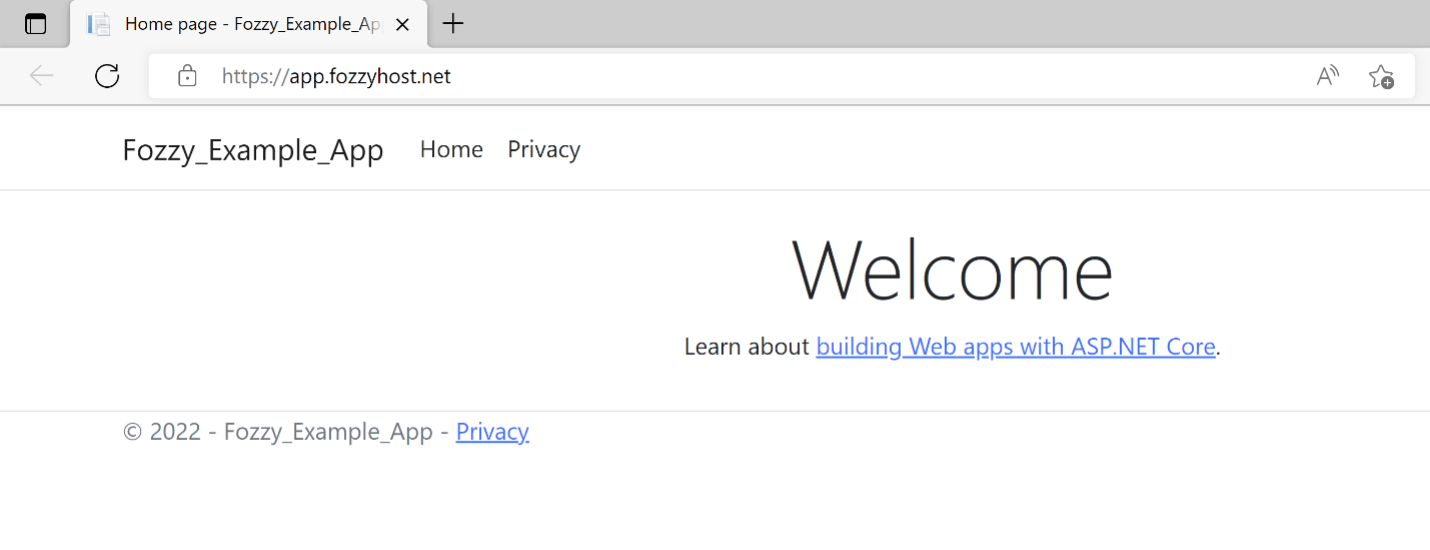
And that’s it: you’ve successfully deployed your ASP.NET app to Fozzy hosting! Check it in the browser!