How to install Umbraco CMS on our hosting
This article guides you on how to install the latest version of Umbraco CMS to Fozzy ASP.NET hosting.
Do you have an earlier Umbraco version: 7? 6? 5? Maybe even 4?? We support it too: should you need any help with it, ask us!
Prepare your hosting account
There is a couple of tasks you need to do first in the control panel of your hosting account for a successful Umbraco CMS deployment:
- Install an SSL certificate.
If you try to access your Umbraco installation via HTTP, you may experience significant UI delays. - Create a new SQL database, write down the details. Later you will use it for your Umbraco application.
Prepare an Umbraco project
On your computer, configure and build an Umbraco application according to your specifications. Refer to Umbraco documentation to learn more about it.
If you want to use the default configuration, here’s a quick walkthrough:
- Install the latest .NET SDK.
- Install project templates for Umbraco:
dotnet new install Umbraco.Templates
- Create a folder where you want to place this Umbraco project.
- Open the command line, navigate to that folder, and run “dotnet new umbraco”.
- Build the project:
- Use the “Installing and setting up VS Code” and “Configure VS Code to run the Umbraco project” sections from the official installation documentation.
- Run the “publish” task:
- Press Ctrl+Shift+P to open Command Palette.
- Type “run task” there, select “Tasks: Run Task”.
- Choose the “publish” task.
Upload Umbraco CMS project to our hosting
The most efficient way to upload Umbraco project is with Web Deploy. We have two articles to help you with that: do you use Visual Studio Code or the regular Visual Studio?
If you do not want to use Web Deploy, you can use the web control panel upload an archive of your Umbraco project. On your computer, in the Umbraco project folder, navigate to “bin\Debug\net7.0\publish” — this folder you must upload to the root of your website.
Configure this Umbraco CMS installation
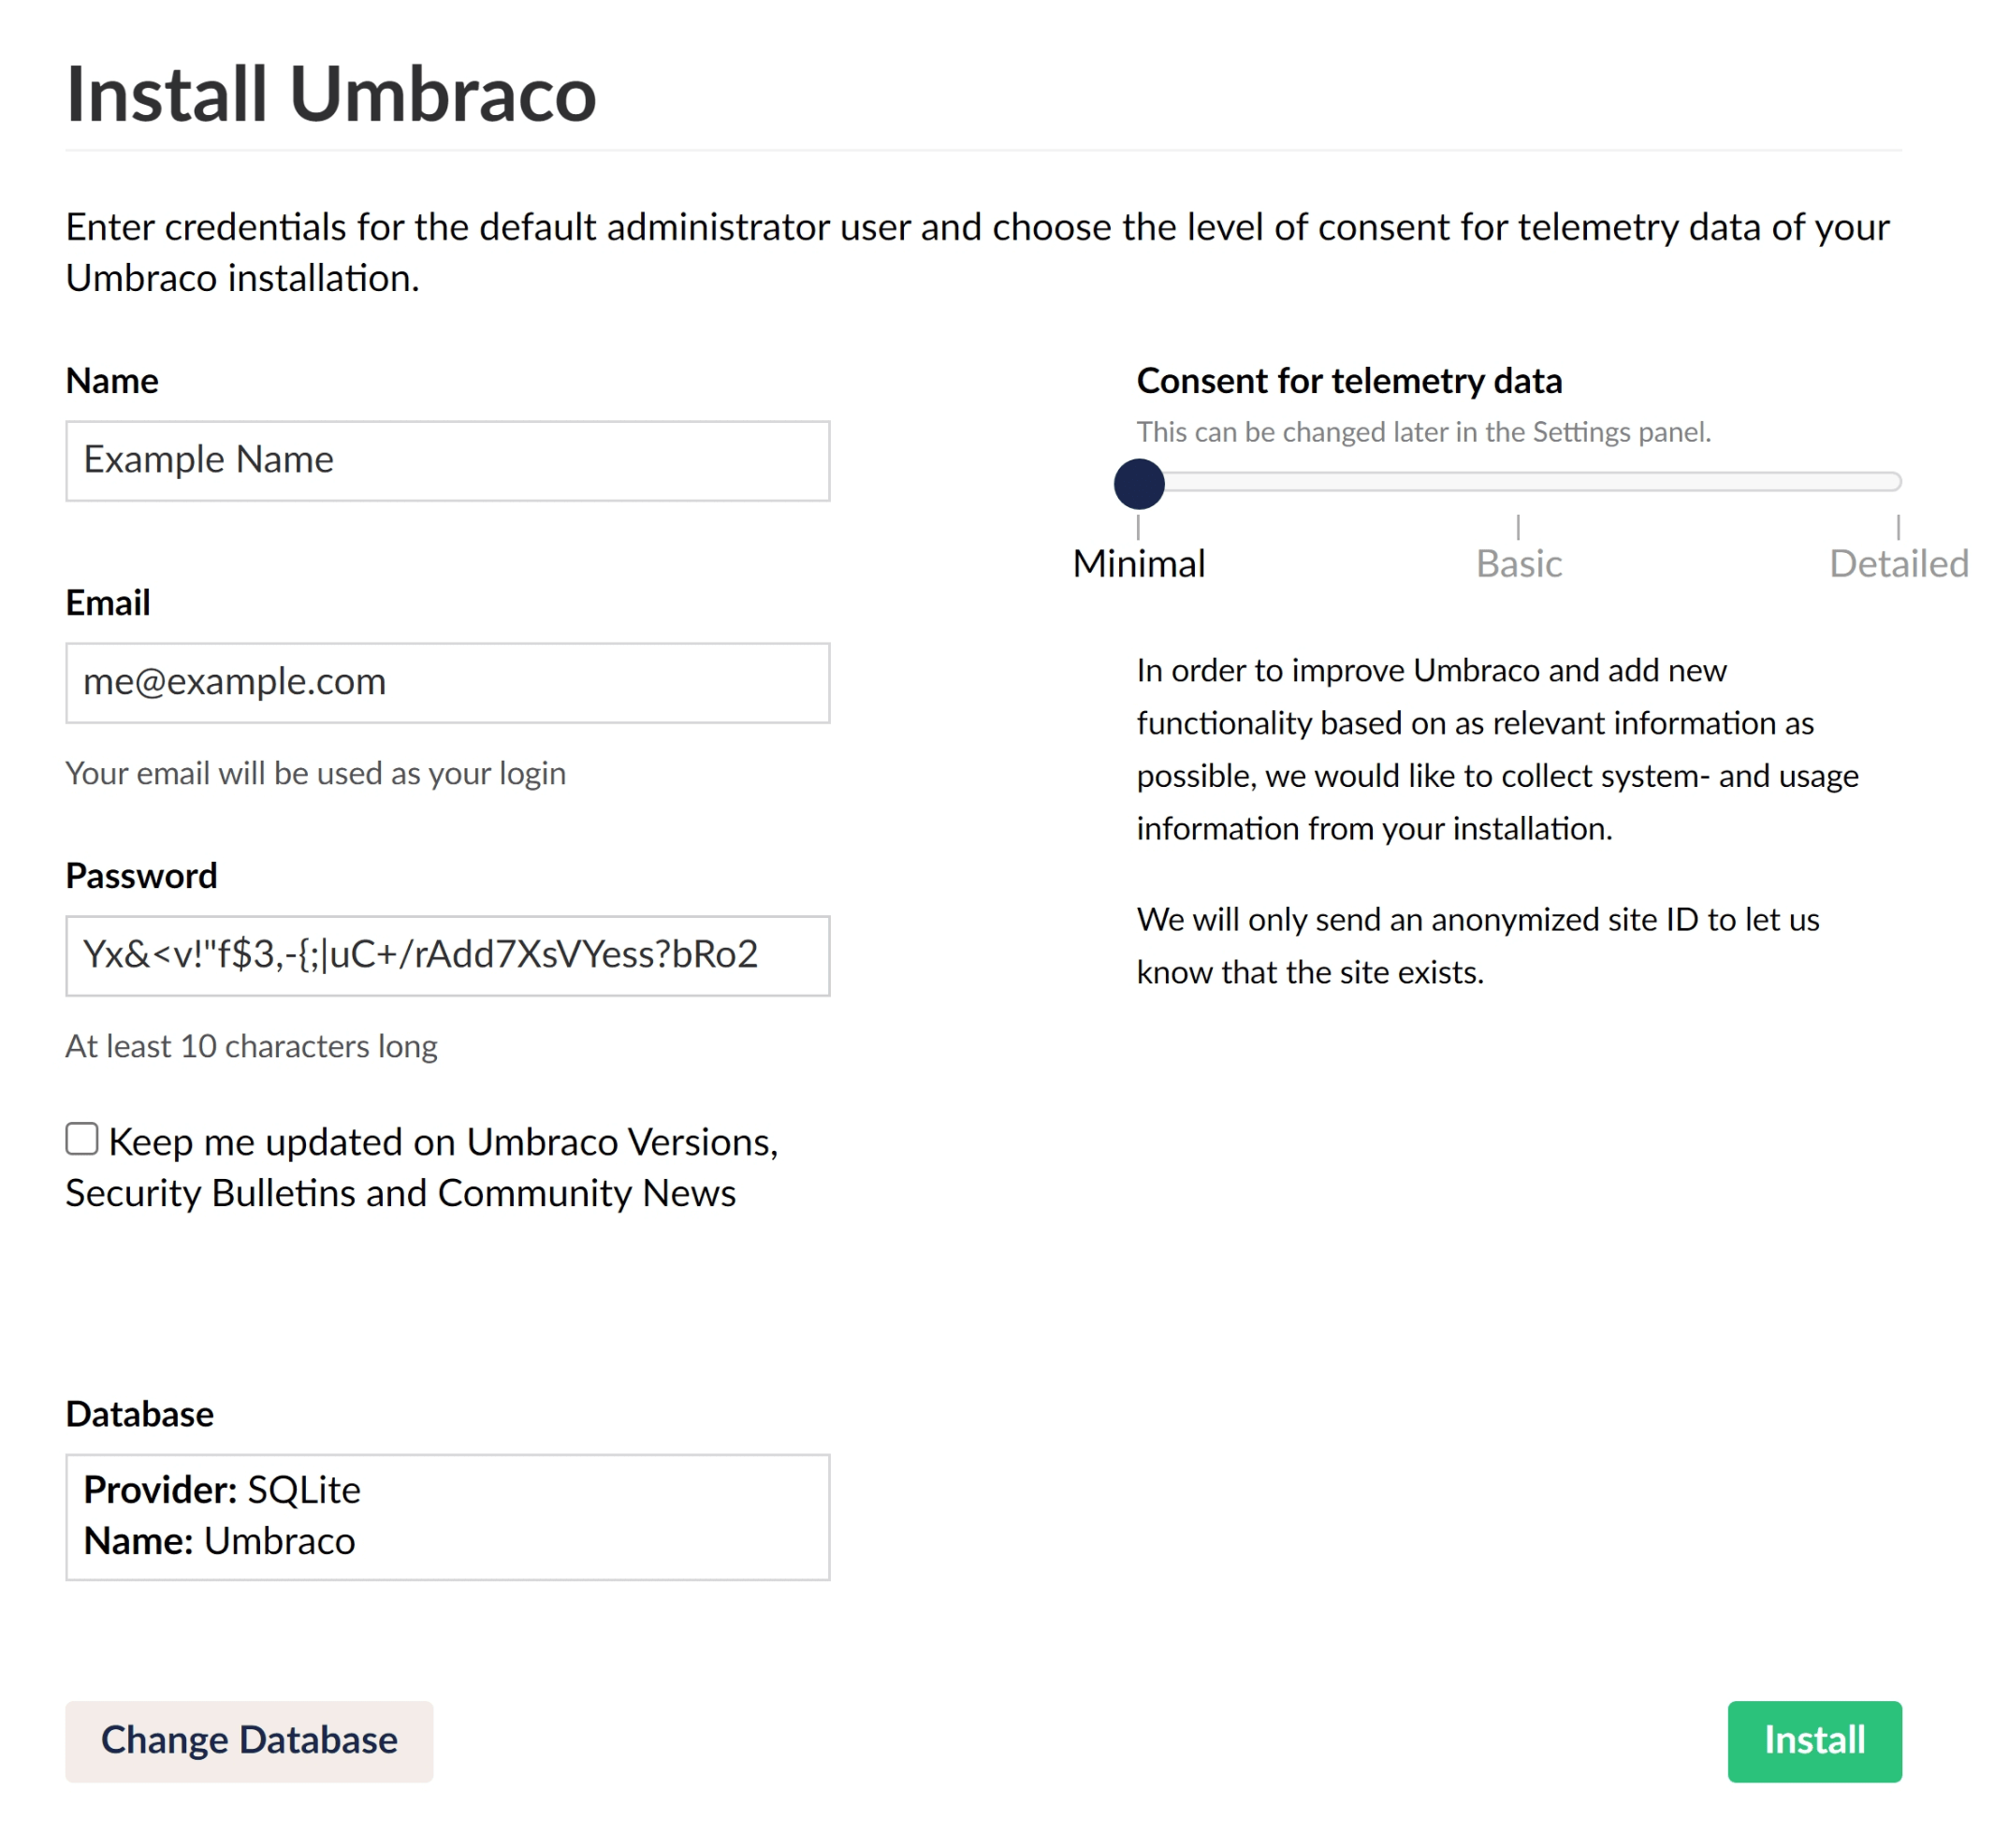
The last step is to connect your newly uploaded CMS to the database. For this, open your website in the browser — you should get an “Install Umbraco” page.
- Fill in your name, email, and password you will use for administration of this CMS installation. Feel free to set the telemetry level to the one with which you are most comfortable.

- Click the “Change Database” button in the left lower corner of the screen.
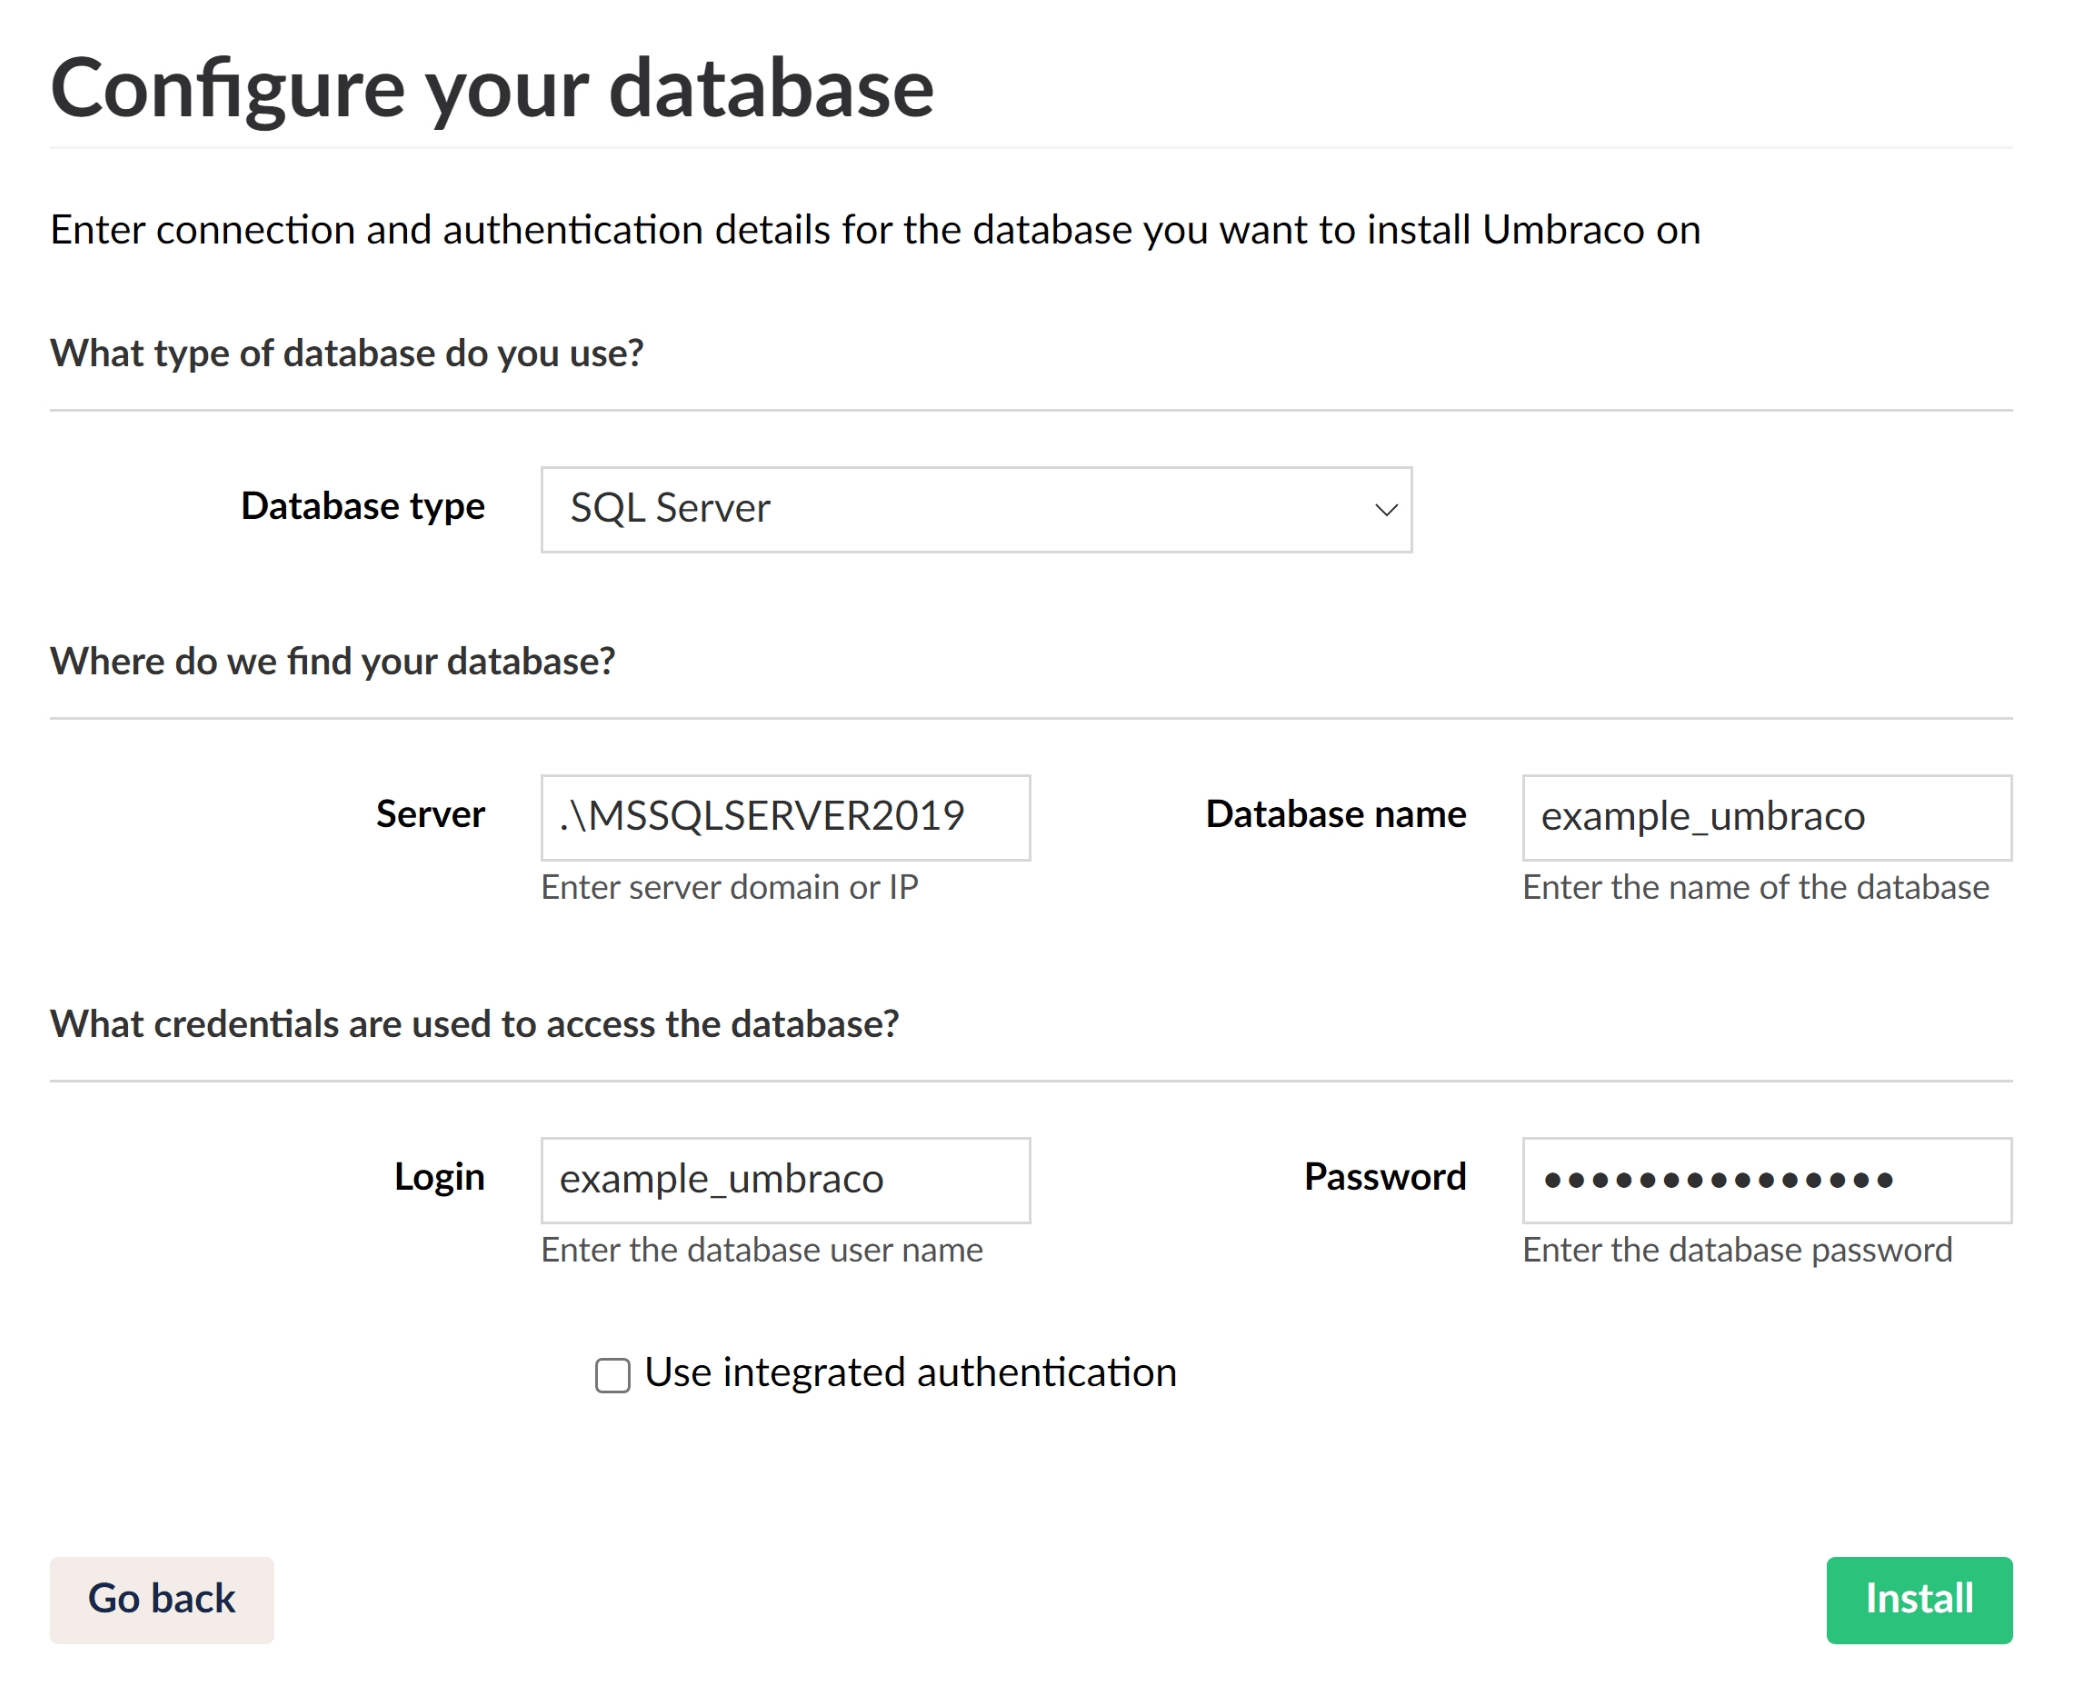
- Select “SQL Server” as the database type. For the rest of the fields, use data you wrote down on the database creation step earlier. Then click “Install”.

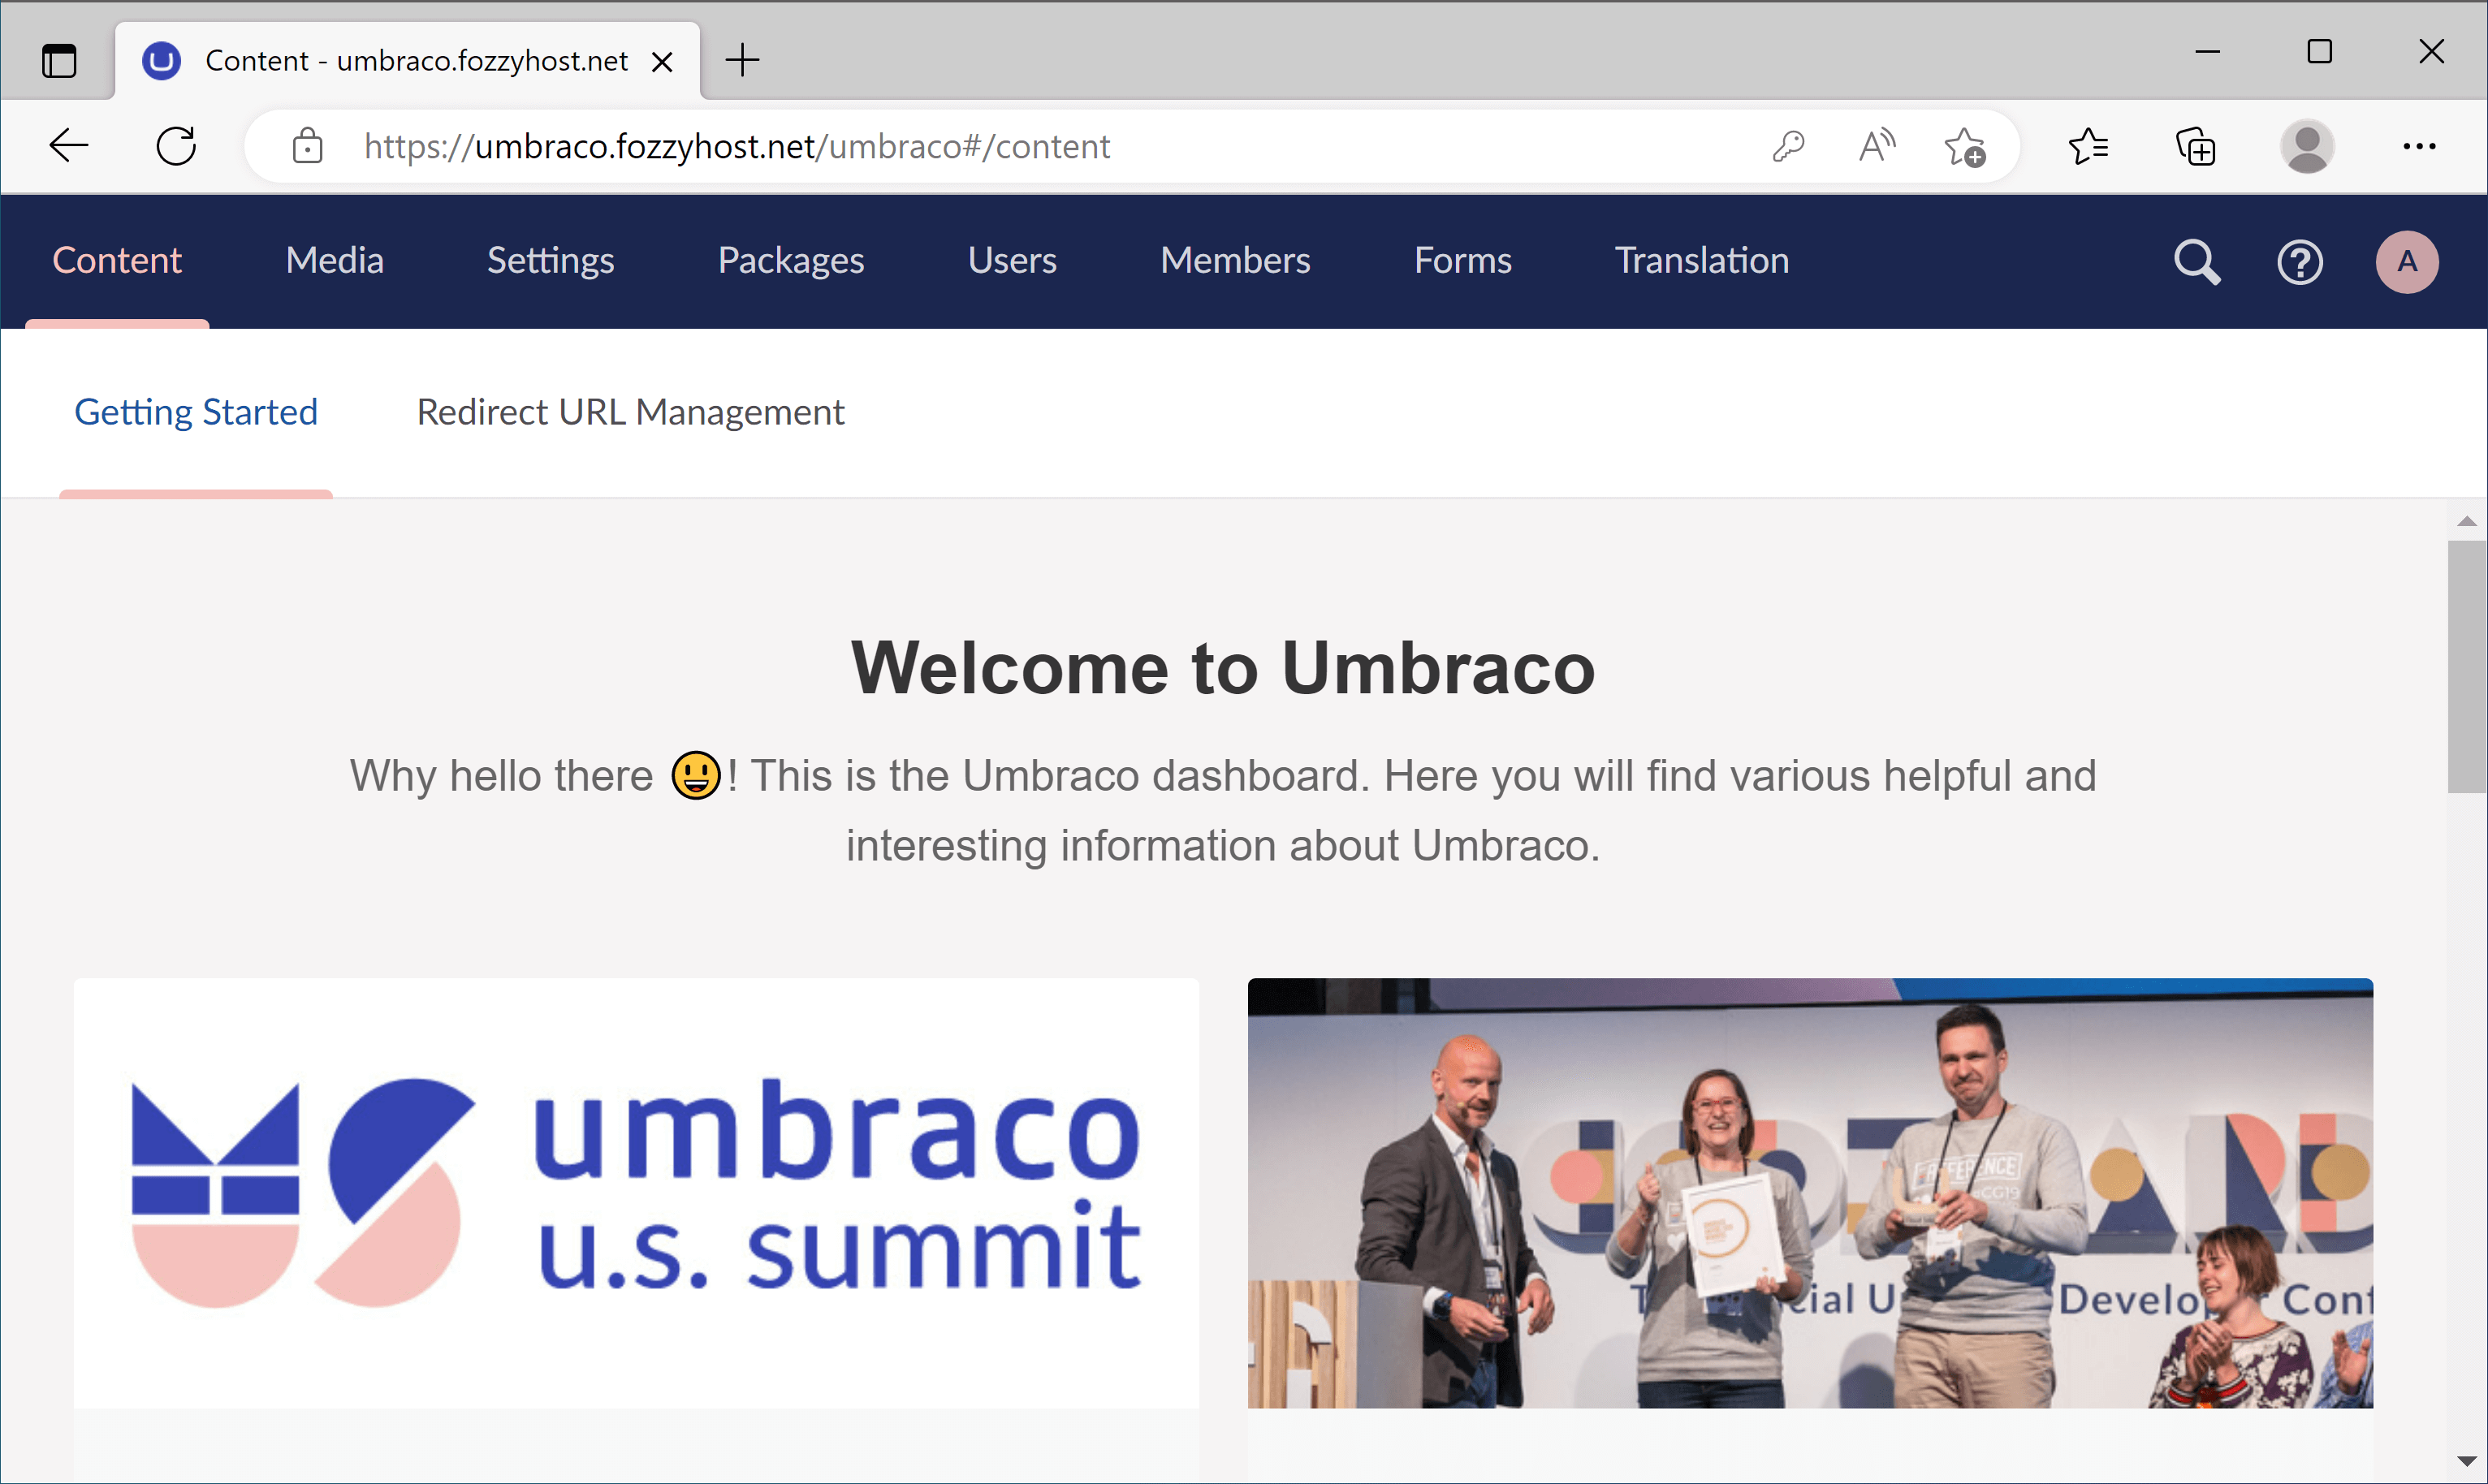
- And that’s it! You’ve done it — enjoy your fresh Umbraco CMS installation.